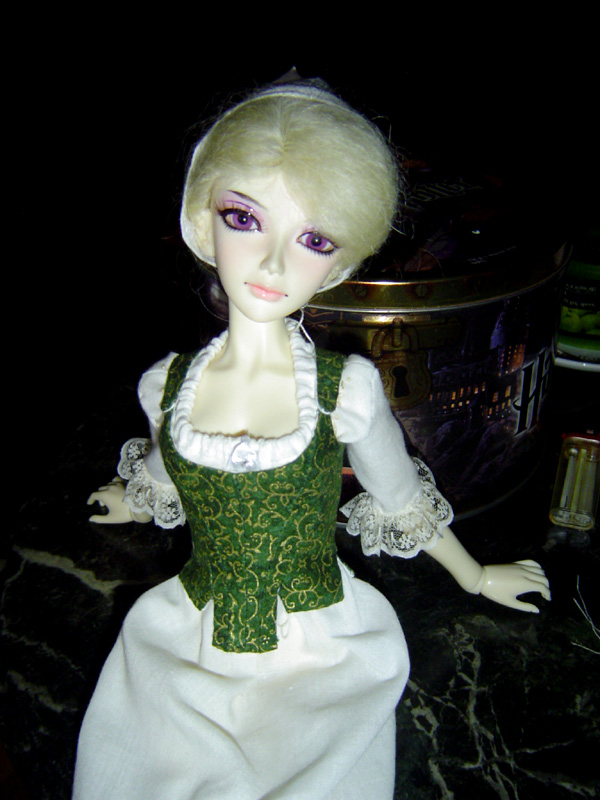
Tiene razón mi madre en que tardo más en ponerme a hacer las cosas que en hacerlas 🙂
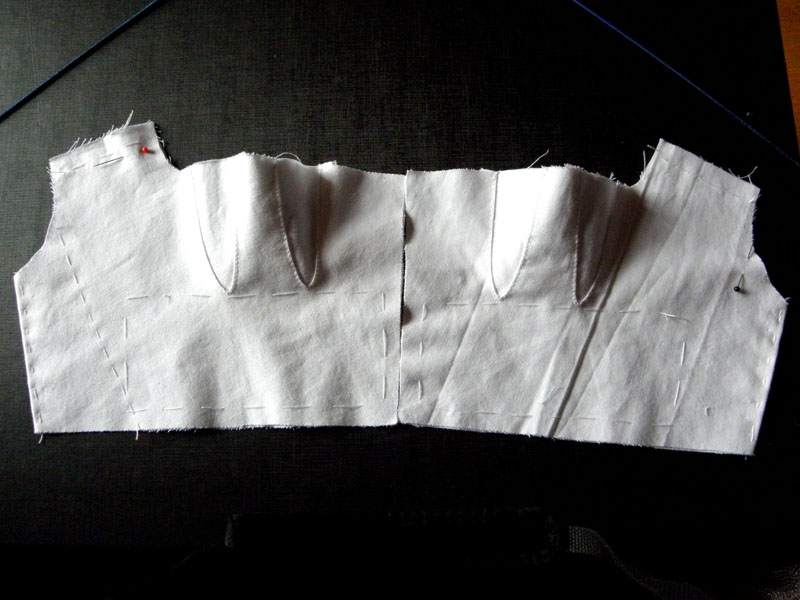
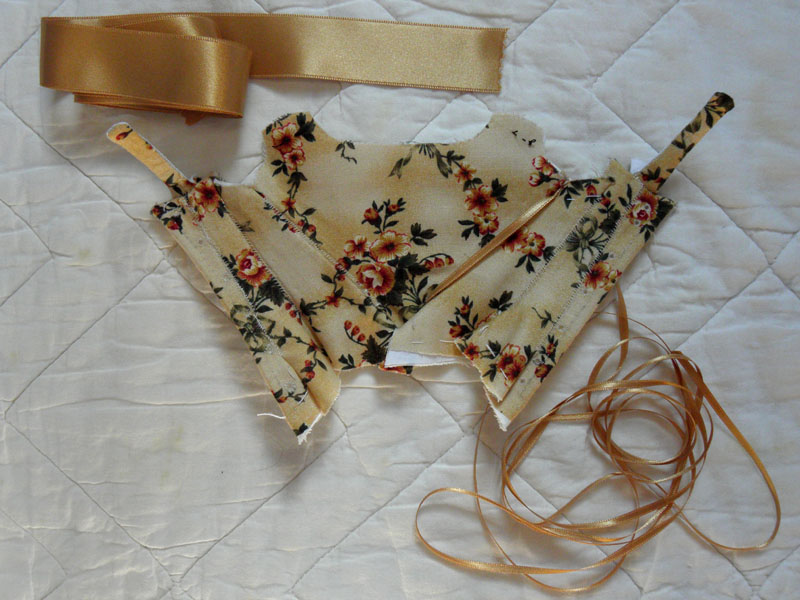
Después de un par de semanas sin hacer nada, me puse a hacer el corsé, con un patrón de Sense and Sensibility. Los godets para el pecho los cosí a mano para asegurarme de que quedaban todos iguales, porque con este patrón hay que hacer tres piezas(refuerzo, exterior y forro) y después montarlas y coserlas por las costuras. No quedé nada contenta con cómo me quedó, tanto por el patrón (no me da la sensación de que vaya a «levantar y separar» hasta el punto que se ve en los cuadros) como por los errores que cometí al coser. Las costuras que aparentemente quedaban bien encaradas mientras estaban hilvanadas, al coserlas con la máquina se escurrieron dos milímetros, y para más inri, cuando ya había puesto los canales para las ballenas y hecho los ojales, me dí cuenta de que los pechos no quedaban sujetos. Como ya estaba un poco hasta los mismísimos, pregunté a las corseteras de corsetmakers en LJ, y me dieron un montón de consejos sobre cómo arreglarlo. Resultó que había cogido el patrón dos tallas más grande de lo que necesitaba (después de haber tenido que reducir ya otras dos tallas por un error al tomar las medidas) y tenía que reducir los godets del lado derecho, así que tocaba empezar de cero. Tras un par de días de descanso me puse a despiezar lo que ya tenía hecho, con la idea de ver si al menos la espalda, lados y tirantes se podían reaprovechar. En este caso la idea era pasarme las instrucciones por el forro, y usar un truquillo que ya había visto en Corsetmakers con los corsés modernos y que mi tía (modista con más de 45 años de experiencia en una boutique de Barna) me recomendó: usar sólo exterior y forro, el primero reforzado con entretela adhesiva; después de todo, el patrón que estoy usando no tiene una construcción acorde a la época (se cose a máquina), así que si me salto algun detalle histórico más no pasa nada, siempre que la silueta sea la de la época. 🙂
Pero no podía ser tan sencilla la cosa, y me puse a hacer lo que aún no había hecho: investigar. Como quería terminar rápido de hacer el vestido había decidido seguir sin más las instrucciones del patrón y se acabó, pero he comprobado que así no quedo contenta, así que aprovechando que estaba cosiendo el velo para el traje medieval, lo compaginé con buscar información sobre el proceso de construcción de un corsé de esa época. Como de costumbre, acabé encontrando lo que buscaba en la página de Koshka the cat 🙂 El sistema es prácticamente igual al del corsé que hice para el DPP del año pasado, y desde mi punto de vista y experiencia, más sencillo que coserlo con la máquina, además de que es más fácil corregir errores.
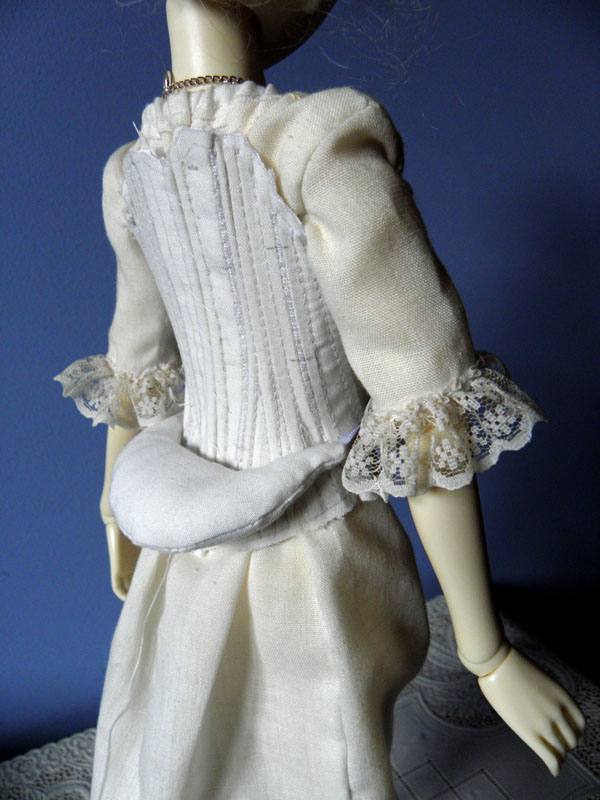
Con esto, nuevo cambio de planes: reaprovechar las piezas que se puedan para hacer tres capas igual, sin entretela, pero con el sistema de construcción antiguo.
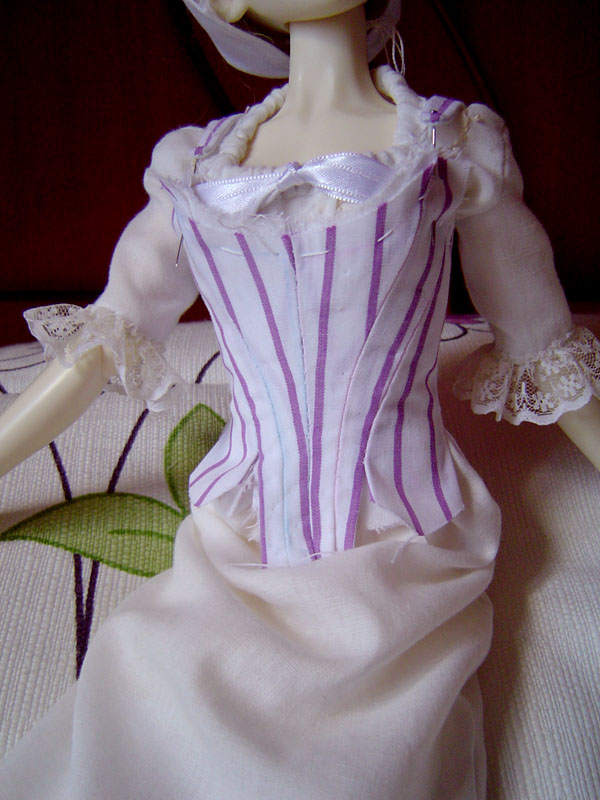
Y a ello me puse: ajustar las piezas salvables y cortar de nuevo las que no. Coser los godets, hilvanarlo y volver a probármelo. Esta vez fui un poco lista y para abrocharlo por delante durante la prueba recorté la tira de tela donde iban los ojetes en el viejo y se la hilvané 🙂 Después de tener que hilvanar dos veces más porque se me deshacía, comprobé por fin que esa talla me quedaba bien, y sólo tenía que corregir los tirantes. Y ahora estoy en el proceso de poner cordón en lugar de ballenas para estar más cómoda, excepto la central para que al atarlo no se me deforme.
§§§§§§§§§§§§§§§§§§§§§§§§§§§§
I never thought that making a simple regency stays for myself, with a commercial pattern, would be so difficult.
I bought the Sense and Sensibility pattern and tried with it. I handsewed the godets so they would be perfect and the three layers were identical, but when I sewed them together the seams shifted and I wound up with an ok stays on the outside, but very ugly in the inside. I was not happy, neither with my inability to sew something without making mistakes, nor with the look of the stays. I tried it on and realized that it didn’t support me, and at that moment I was so blocked that I had to ask the Corsemakers community at LJ for some advice. They were really helpful, and thankfully the problem was only that I had used two sizes more than I needed (I’m still baffled about that, I’ve re-checked it a lot of times and I still get the same size I was using), so I unpicked it and left the pieces alone for some time while I was working in other proyects. My idea was to remake it using only two layers, the outside one lined with fusing interlining as I had read in other Corsermakers posts about modern corsets. It wouldn’t be period, but the original instructions of the pattern aren’t either.
But it couldn’t be so easy, and I decided to do some research about period construction of stays. I found the site of Koshka the cat and realized that the period way was easier than the modern one (I don’t like machine sewing ^^; ) and changed my mind again. Now I’m finally working on the stays, stuck at the cording (no cord until I can go buy it XD), but sure that this size fits me, as I basted it together and tried it on before sewing it this time.

